Manage files and folders in OneDrive for Business
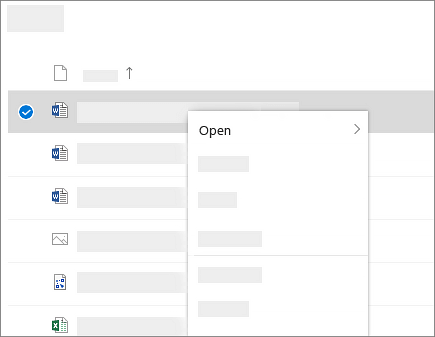
Select what to do with a file
-
In OneDrive, right click the file.
-
Select a command.
Create a folder
-
Select New > Folder.
-
Type a name for the folder.
-
Select Create.

Set up the new OneDrive sync client in Windows
-
If you don't have Windows 10, Office 365, or Office 2016, install the new OneDrive sync client for Windows. If you use the latest software, you already have the new OneDrive sync client and you can skip to step 2.
-
Select the Start button, search for OneDrive, and then open it.
-
When OneDrive Setup starts, enter your work or school account, and then select Sign in.

Note: If you already had an account signed in to OneDrive and you want to add another account, select the OneDrive cloud icon in the Windows taskbar notification area, select More > Settings. In Settings, select Account, select Add an account, and then sign in.
For more info, see Sync files with the OneDrive sync client in Windows.
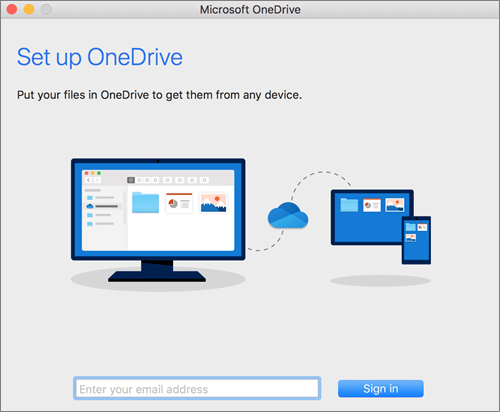
Set up the new OneDrive sync client on Mac
-
Important: If you're using the OneDrive Mac Store app, uninstall it before installing the latest build of the OneDrive desktop app.
-
Start OneDrive by pressing cmd + Space to launch a Spotlight query and type OneDrive. This starts OneDrive Setup.
-
Enter your work or school account and then select Sign in.
Note: If you already had an account signed in to OneDrive and you want to add another account, click the OneDrive cloud icon up in the Menu bar, click the three dots to open the menu, and select Preferences. Click the Account tab, select Add an Account to start OneDrive Setup, and then sign in.